1. 깃허브에서 pbrt-v3를 다운받는다.
https://github.com/mmp/pbrt-v3
GitHub - mmp/pbrt-v3: Source code for pbrt, the renderer described in the third edition of "Physically Based Rendering: From The
Source code for pbrt, the renderer described in the third edition of "Physically Based Rendering: From Theory To Implementation", by Matt Pharr, Wenzel Jakob, and Greg Humphreys. - GitHub...
github.com
$ git clone --recursive https://github.com/mmp/pbrt-v3/
2. CMaker를 다운받아 설치한다.
- bin/cmake-gui 로 .sin 파일을 만든다.
- build 파일을 따로 만들어서 [where to build..] 에 입력한다.

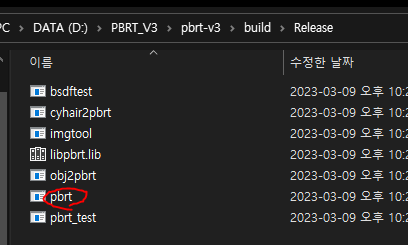
3. VS 파일을 열어 빌드한다.
- pbrt.exe 파일이 생성된다.
- cmd 에서 아래 명령줄을 입력하면 killerooTest 이미지가 생성된다.
- D:\PBRT_V3\pbrt-v3\build\Release\pbrt.exe D:\PBRT_V3\pbrt-v3\scenes\killeroo-simple.pbrt --outfile killerooTest.tga

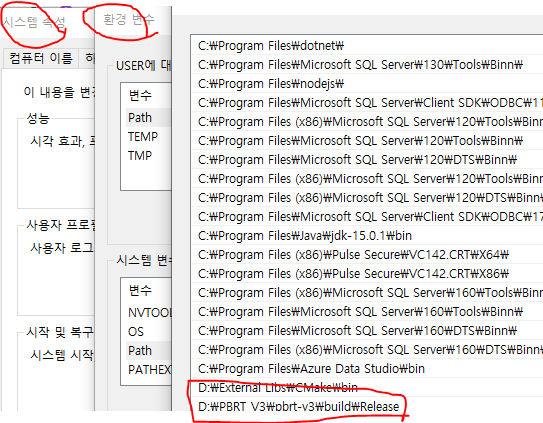
4. (옵션) pbrt 환경 변수를 등록한다.

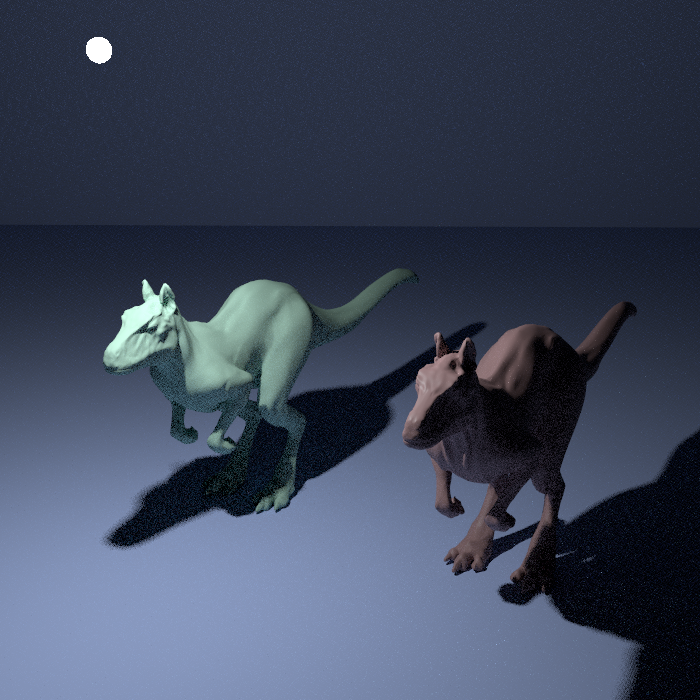
5. 샘플 캥거루.pbrt 파일을 렌더링한다.
- pbrt killeroo-simple.pbrt --outfile killTest.tga

개념정리
- .pbrt 파일은 장면 설정 파일 (또는 삼각형 메시)이다.
- 이미지를 렌더링(3D -> 2D) 하기 위해 pbrt.exe 를 실행해야 한다.
- 이미지 결과로 .tga 혹은 .exr 파일을 얻을 수 있다.
[참고 블로그]
- https://github.com/mmp/pbrt-v3
- https://sungsoo.github.io/2016/12/30/pbrt-installation-on-macos.html
- http://dragonaut.blogspot.com/2017/08/building-pbrt-v3-in-vs-2015-rendering.html